Welcome to the first part of my basic's Sew Along, for this I wanted to focus on my own personal sewing issue ZIPS.
Zips, zips, zips I don't go a day where I don't touch atleast one, if it's not on my own clothes then on the childrens clothes, my eldests pencil case, their coats so many zips.
Most people prefer to use them instead of buttons as buttons can be time consuming, I hate putting them on things, my previous tries at zips have gone horribly wrong so I gave up. I have quite a stash of them, ironicly none in the size I need, but I just avoid them.
This is my first tutorial so it may be a bit rough around the edges.
Equipment needed
- Zipper foot
- Zip
- Fabric
- Pins or needle and thread (if hand tacking)
Skills needed
You need to be able preform a straight stitch.
You need to be able preform a straight stitch.
First think you will need is a Zipper foot this allows you to sew closer to the zip it should looks a bit like this one. You will see it has a bar separated by a middle post this allows you to attach is on either side for sewing.
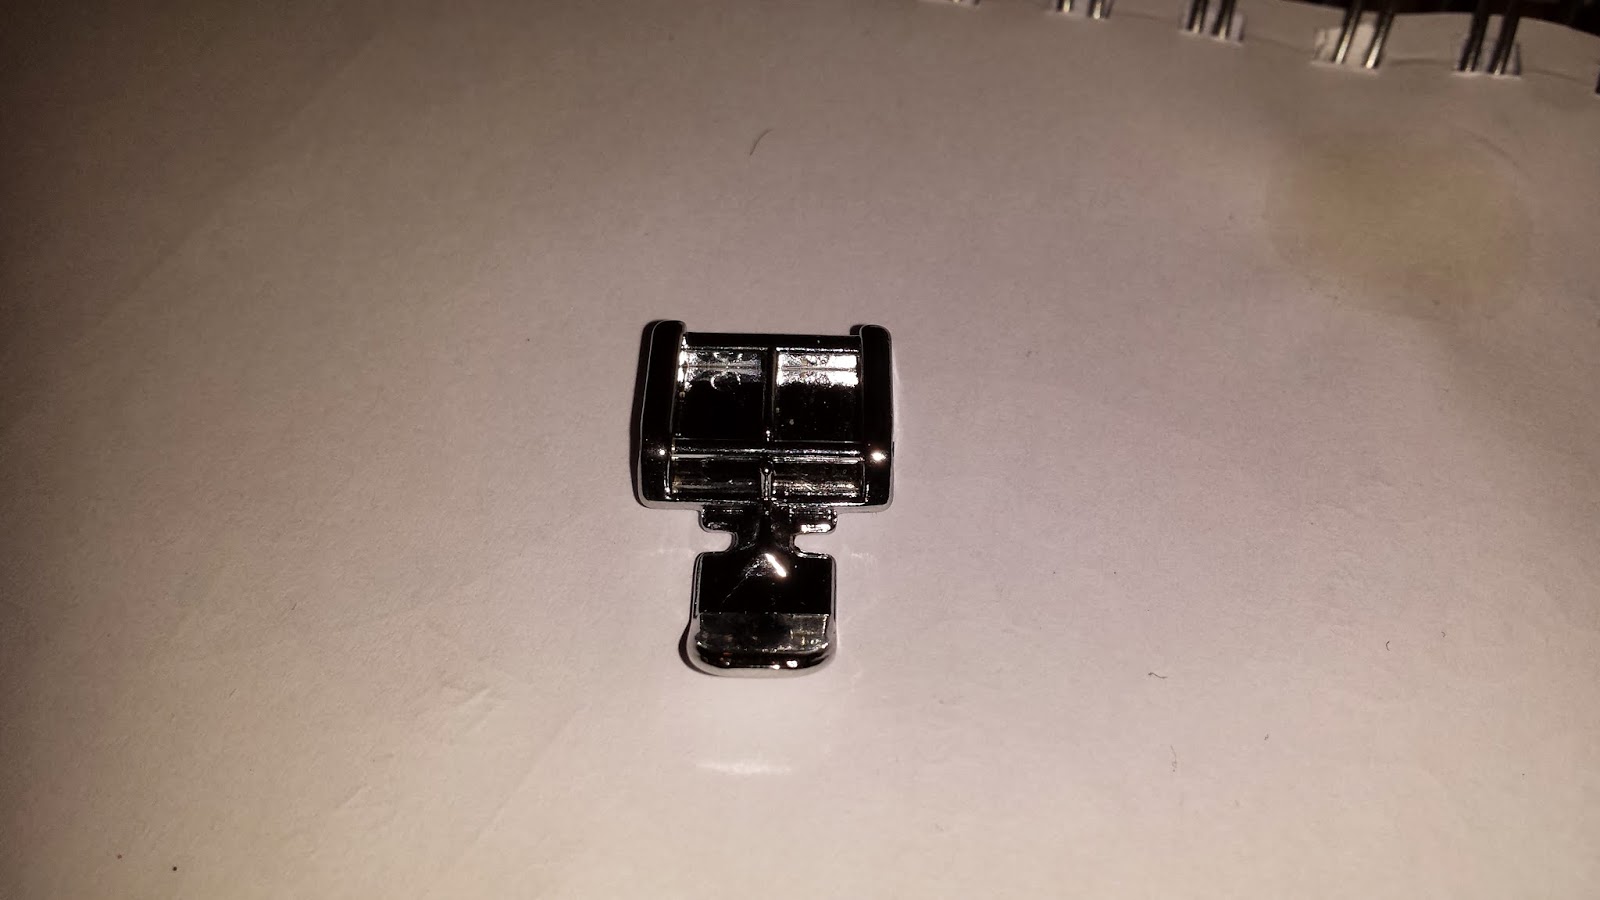 |
| Universal Zipper foot for Low Shank machines |
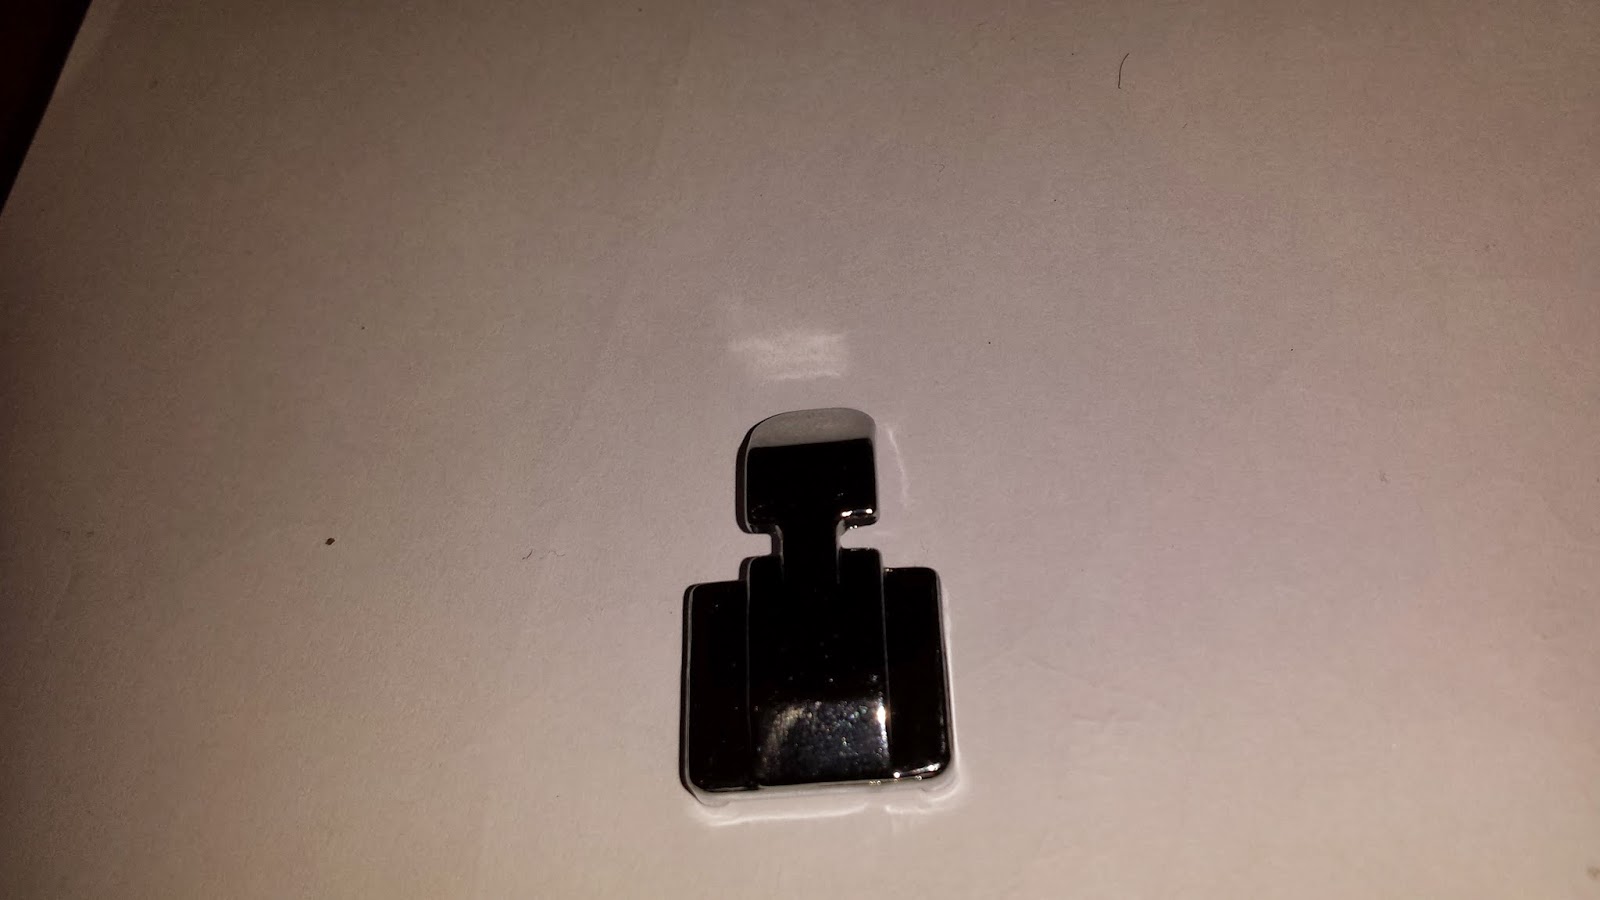 |
| Underside of a regular Zipper foot |
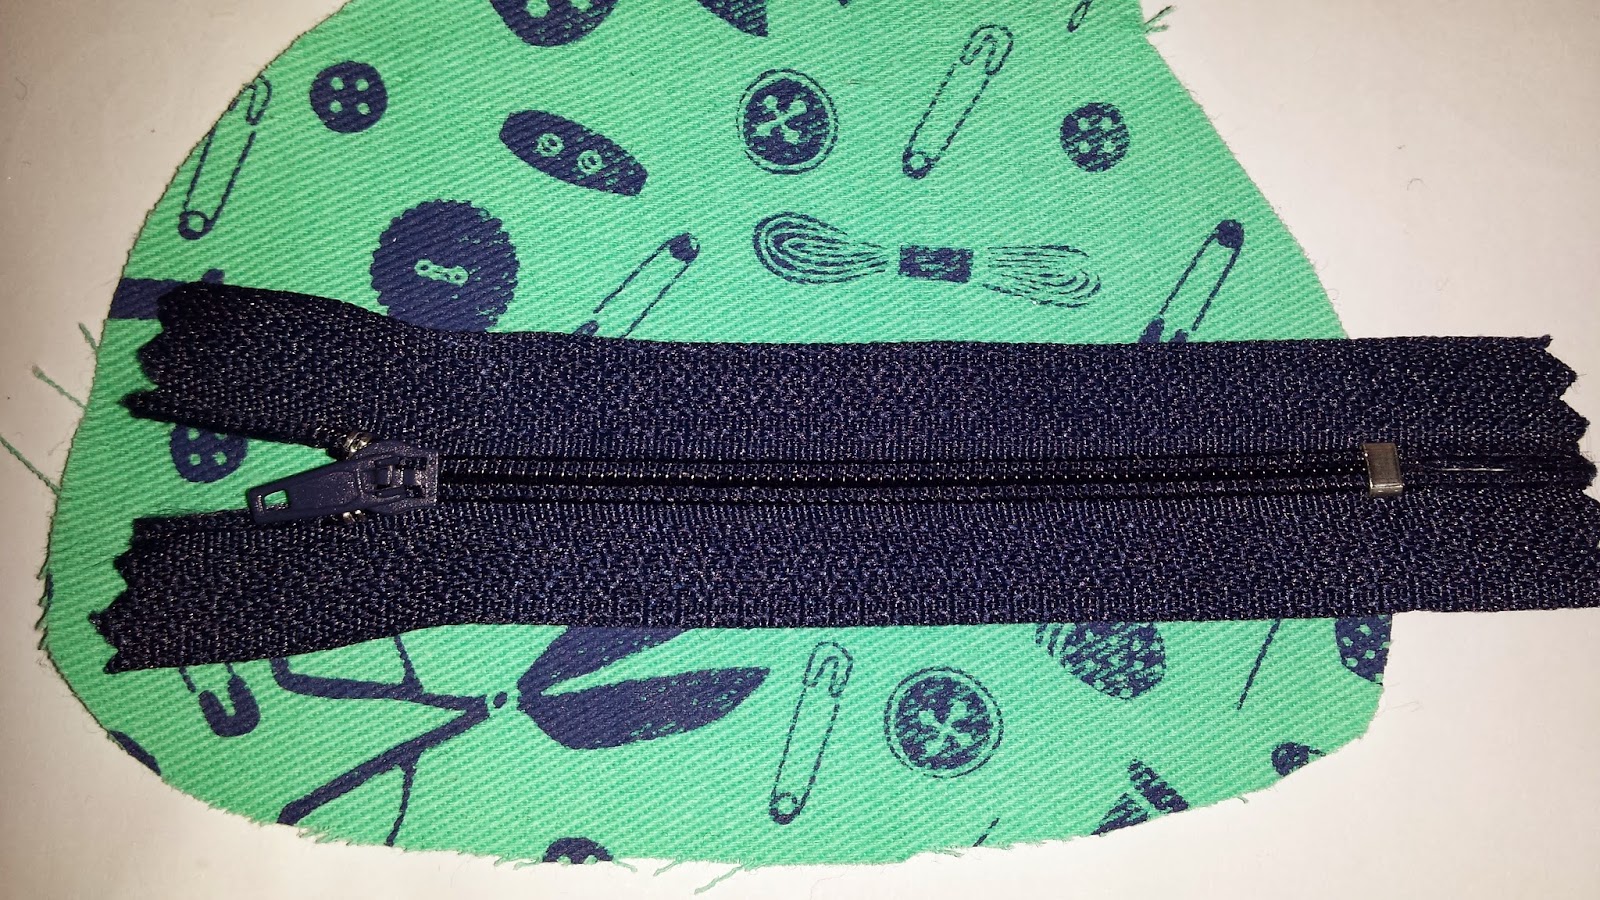
In this tutorial I pinned the zip to my fabric simply because the instructions I was following for the coin purse said to but it would be much to easier to hand tack it in place.
Secure the zip to the right side of the fabric. If your fabric frays easily then you will want
Secure the zip to the right side of the fabric. If your fabric frays easily then you will want
either overlock or zig-zag stitch the edge first.

Start with a securing stitch, sew steadily along with a straight stitch, till the end and finish with another securing stitch.

You then fold it back and you want to press it at a tempreture sutible for your fabric.

You're then pinning (or hand tacking) the other side in the same way and repeating on the other side.

Again fold back and press again so the fabric stays nicely at either side of the zip and VOILÀ you have attached a zip!

Now if your accomplished at doing a basic zip there is plenty more versions to play with you can do lapped zips, mu husband currently likes that term as he has learnt it watching the Great British Sewing Bee, it's that and Sweetheart necklines, fly zippers and if you have the right foot you can do an invisible zip, there is tutorials on this on youtube with a regular zip foot.
You can also try on a variety of projects using them as decoration.
I have seen pencil cases and bags made purely from zips so its not as plain and boring as it seems.
Now I hand this over to you lot.
I am really interested to see what other people can do so please share with me your attempts even if they go wrong.
You can share with me via
Now I hand this over to you lot.
I am really interested to see what other people can do so please share with me your attempts even if they go wrong.
You can share with me via
Instagram: with #knottednelly and tag me @insonstis
Twitter: #knottednelly and @Disabledmum
Facebook: https://www.facebook.com/knotonyournelly
or via your personal blog and letting me know in the comments...
If your taking part from your blog please let me know so I can add you to the list this helps me to view people taking part and see what you are making go here to see how to take part from your blog
or via your personal blog and letting me know in the comments...
If your taking part from your blog please let me know so I can add you to the list this helps me to view people taking part and see what you are making go here to see how to take part from your blog
Forget-me-knot
Louisa
Don't forget to leave a comment!
No comments:
Post a Comment